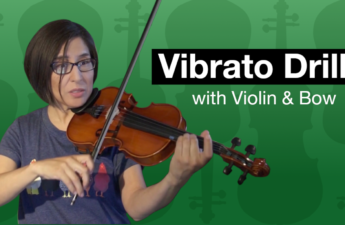
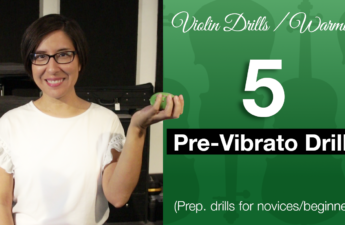
The second step I took for developing vibrato was not an easy one, but then again, n othing in violin learning comes easy. This second step implements 4 vibrato training drills using the violin without the bow.
Remember to have a time to avoid injury. About 15 minutes per session. No More Than That! This is just a reminder of the importance of paying attention to your body. Make sure you consult a medical professional if you feel discomfort or pain when doing these drills.
So how do we know when it’s the right time to start developing vibrato?
In my opinion, if you have a descent intonation and have been doing the pre-vibrato drills I shared in my previous post, for about a month or more, then you should be ready. Just take it from me, a self taught advanced beginner (wink). So grab your violin and lets get started…
Drill Number 1: Fingerboard Taps
The goal here is to warm up your wrist or arm to do the general back and forth motion that is required to produce a vibrato. You do this by placing your hand in third position (where your wrist is touching the top of the violin body) then you will rock your hand back and fourth so that your fingers land on the strings. For extra support, hold your violin from it’s side with your right hand while doing this drill. Your fingers should bounce off the strings effortlessly. Picture the motion of an effortless door knock and apply that same motion to your violin.
Drill Number 2: Finger Independence Day
The purpose of this drill is to obtain finger independence and free your hand of tension. Because one of the vibrato killers is tension. Place your left hand in first position and help support your violin with your right hand, you can choose any string to place your fingers on. I will choose the A string. Tap your first finger down about 4 times, then hold down your finger and wiggle your other fingers. Repeat this with all four fingers.
For the first few times you practice this drill, I recommend keeping your initial fingers down while wiggling your free fingers. Once you’re used to the drill, lift and wiggle all of your fingers while holding the tapping finger down. Check the video below to see what I mean.
Drill Number 3: String Cleaning
Here’s where the hard work begins…..You will slide your finger from the top of the string all the way to near the bottom – back and forth. Make sure you are not putting any pressure on the string.You can also use a rag to cover your strings if you feel that it’s necessary. My calluses are pretty well developed and you’re not suppose to put any pressure down on the string in the first place. Start with a slow and steady speed and gradually speed up the motion to the fastest speed you can possibly do. Once you go as fast as you can, apply pressure on the string (As if you’re playing a note) to do a vibrato motion, which is back and forth in the direction of the string (not side to side). Repeat this exercise on all four fingers.
By now you should have practiced the pre-vibrato drills enough to know that the motion of vibrato ends with the movement of the top finger knuckle. If you have not yet created enough flexibility in your top knuckles yet, you can go back to my previous post and video that has drills that are specific to the top knuckles. Whether you do arm vibrato or wrist vibrato, the movement should always end with the rolling of the top finger knuckle.
This String Cleaning drill should be practiced for about 3-4 weeks before moving on to the next drill/exercise.
Drill Number 4: Third Position Finger Rolls
Here we will hone in on the vibrato movement and work on speeding it up. Place your hand in third position where the wrist is touching the top of the violin. Practice the vibrato motion one finger at time by rocking your fingertips and hand back and fourth in the direction of the string. For those who prefer arm vibrato, start the motion from your elbow up. You will need a metronome for this exercise to monitor your progress. Start easy at 60 – 70 BPM. Do an 8 count of eighth notes, then an 8 count of sixteenth notes. If this is too confusing, then do this exercise in three phases, quarter notes, then eighth notes, then end in sixteenth notes. Be as flexible as you need to.
Once you’re used to doing this drill continuously at 70 you can speed it up by 2-4 beats at a time, From there you keep progressing to a faster speed. At your fastest speed, always make sure that the back and forth movement is consistent and steady to the beat, If it’s not, then you need to work at a slower pace until you reach a continuous rhythmic back and forth motion.
I recommend doing this exercise for about 4 weeks or more. Keep in mind that this drill will stay with you until you fully develop vibrato.
But wait, there’s more! If you want to get a head start on the next step for vibrato, here’s a bonus
exercise: As you are doing your 3rd position finger rolls add a slow right hand legato bowing motion.
Implement these violin-only drills into your everyday practice for about 4 weeks or more, so that you
will be well prepared for the next stage to unlocking your vibrato. We’re taking on vibrato one step at a
time, so check back soon for the third part of this vibrato video series – which is where everything comes
together (violin and bow) and the really really hard work begins.